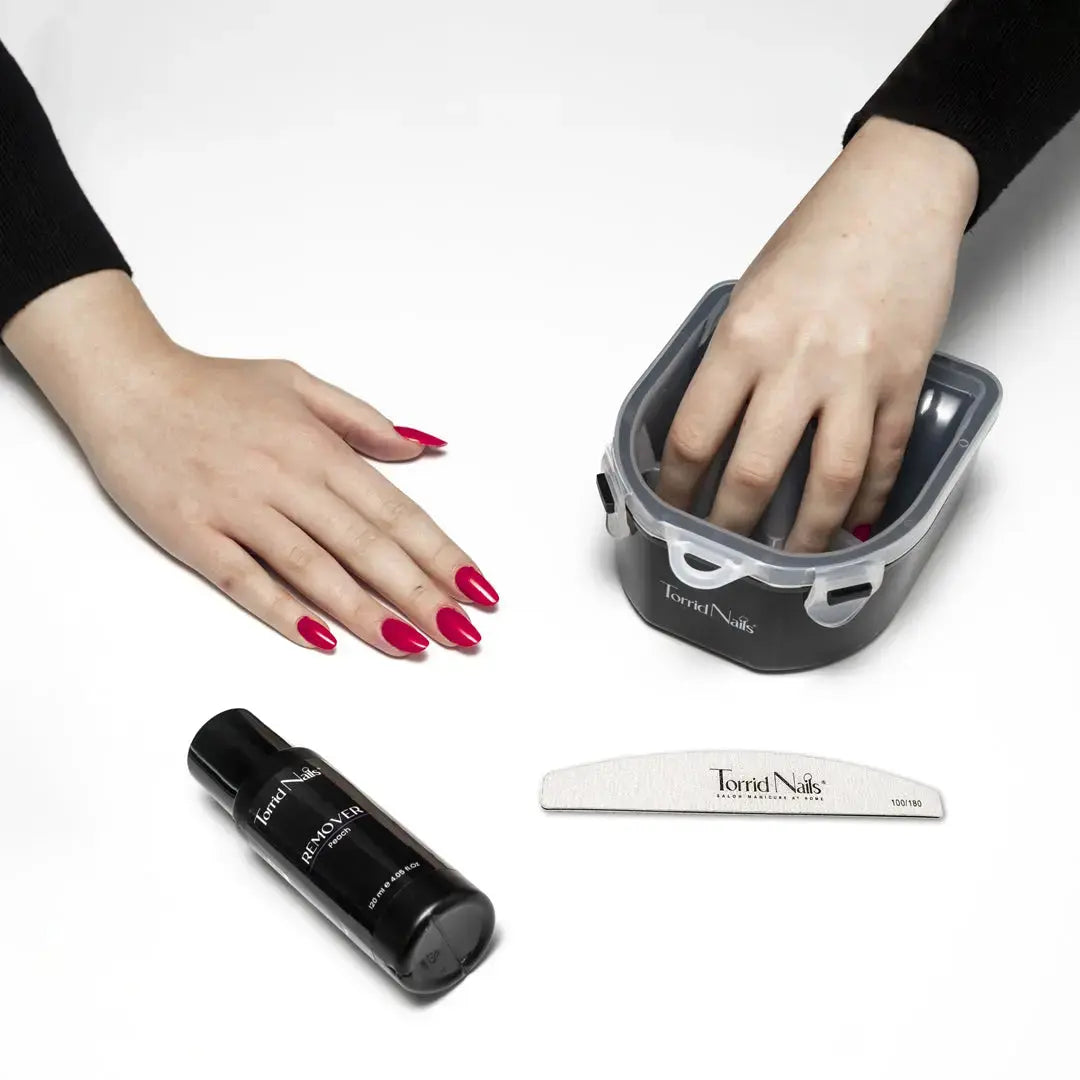
If you like manicures and would like to try to create some Simple Nail Art at home without the help of an expert beautician, this is the article for you.
In fact, we will see together what the simplest technique is for creating homemade nail art and we will describe how to create some of the simplest ones step by step.
So continue reading to create your first Nail Art with the Torrid Nails guides.
Easy nail art with powder nail polish

If you want to create homemade Nail Art, powder nail polish, also known as Dip Powder, is the easiest solution to use.
In fact, this type of nail polish does not smudge, does not require a UV lamp and is very simple and quick to apply and dries in just two minutes in the open air.
The application of powdered nail polish requires following a very simple procedure, within everyone's reach.
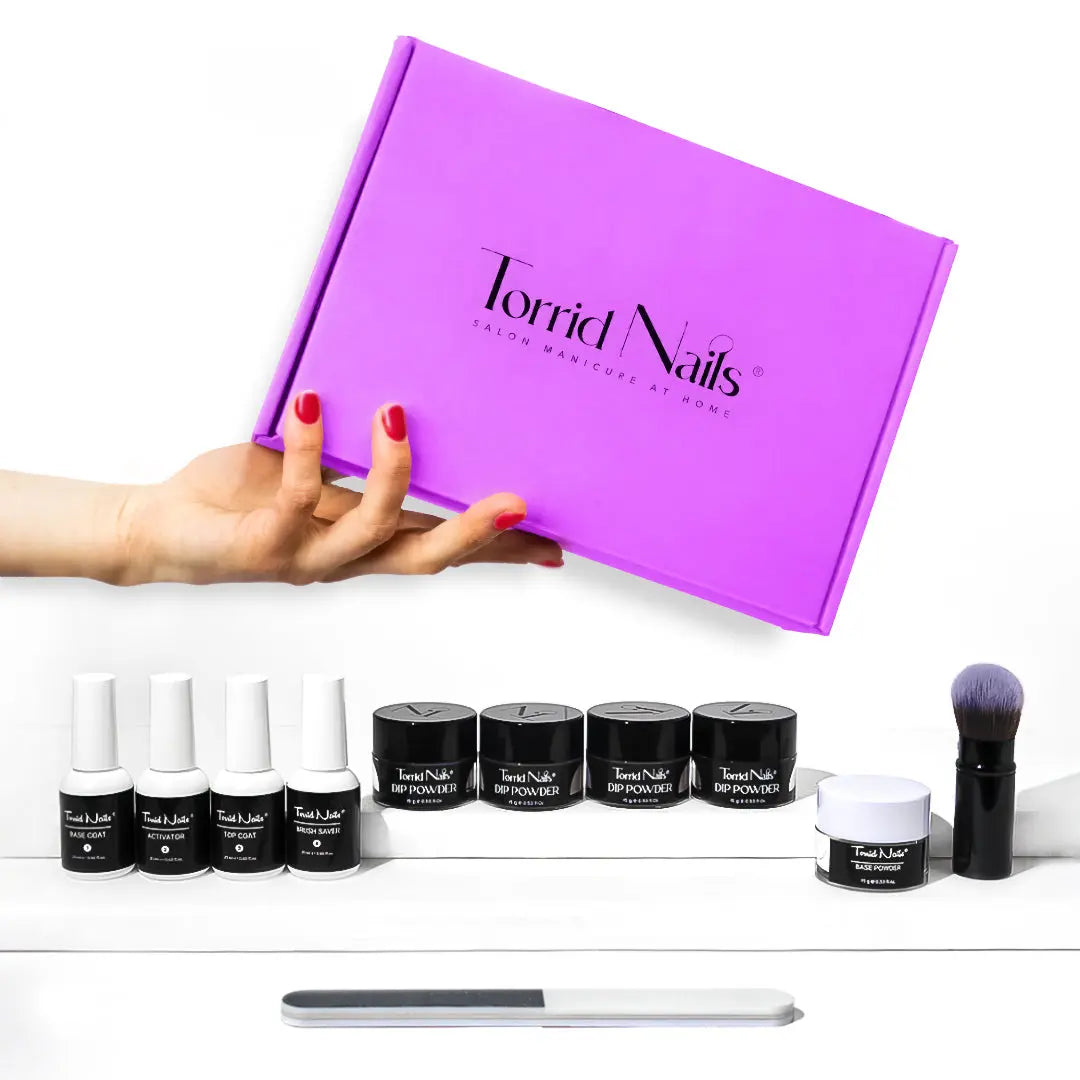
After having performed the most classic of manicures, that is, after having filed, reshaped and cleaned the nail to encourage the best possible adhesion of the powder nail polish, it is possible to proceed with the actual application, which consists of some phases:
-
First you need to apply a layer of base liquid on the nail;
-
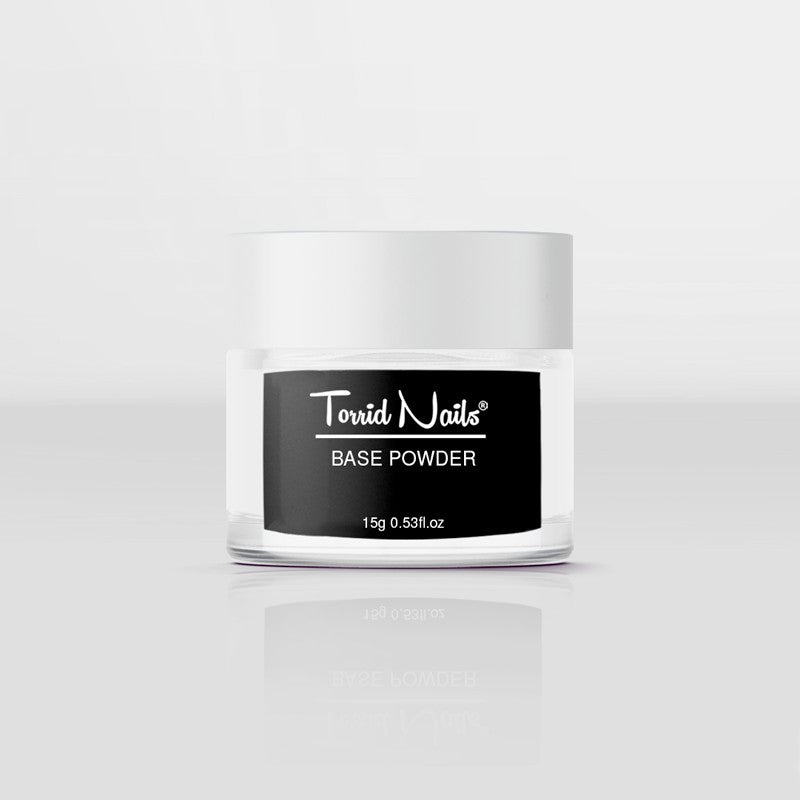
After applying the liquid you will have to proceed with covering the nail with the base powder;
-
In case of excess dust, you will need to use a brush to remove it;
-
Apply an additional layer of base liquid to the nail;
-
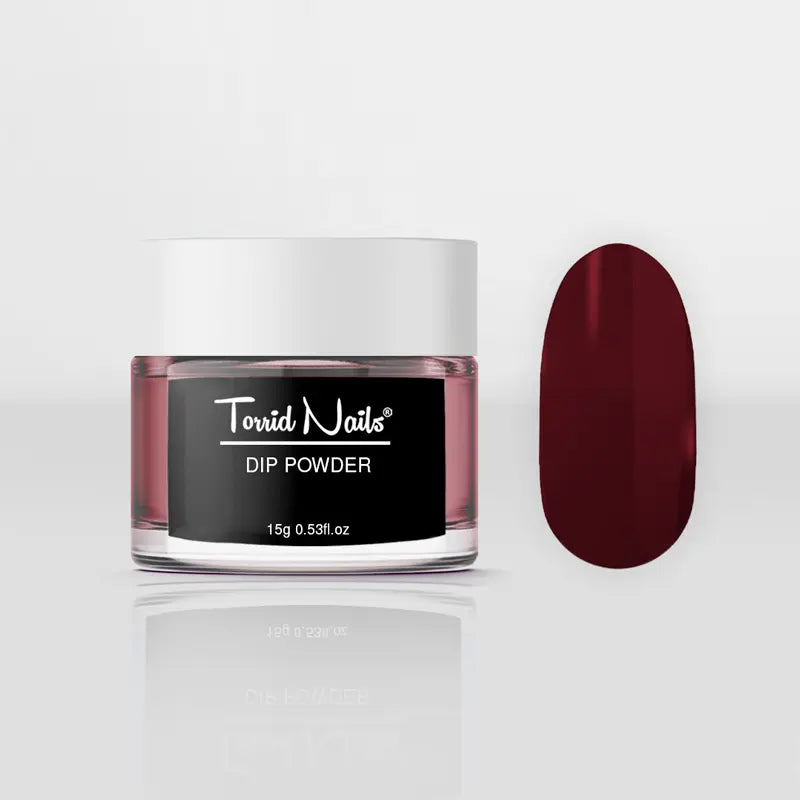
Apply color powder or acrylic powder nail polish to the nail: to achieve and increase the desired shade and intensity of color it is necessary to repeat the steps described above twice ;
-
Once the desired intensity of color has been reached, it is necessary to pass a layer of activator over the nail, then fixing everything using the sealing top coat;
-
At this point you will have to pass a layer of activator again;
- Having done this, before completing the work on your Manicure Dip Powder, you will need to wait two minutes, and then finish with a final pass of the top coat on the nail.
Using this basic technique you can create many Nail Art in a very simple way and we will explain some of them below.
Ombre Effect Nail Polish
Ombré nail polish is that nail art that sees the nails gradually fade into another color or the shade of two colors on the same nail. Although it seems so, the process for creating the Ombrè effect is anything but complicated:
-
After having created the most classic of manicures, it is necessary to spread the transparent base over most of the nail, over three quarters of it;
-
Next you need to immerse the nail in the base powder and wait a few seconds;
- At this point we pass through the base liquid again and immerse in the first colour, removing excess powder;
-
Apply the liquid again on the other half of the nail and carry out the operation with the second colour. The operation can be carried out several times to obtain the desired color intensity;
-
Apply the activator to the nail and wait a few minutes for it to dry, but if necessary it may be useful to apply a second layer;
-
Apply a layer of top coat on the nail and wait for about 2-3 minutes for it to dry;
Marble effect nails
Even the Nail Art techniques to obtain nails with Marble effect prove to be very simple to be applied without major headaches or waste of time, while guaranteeing the achieving elegant results and using powdered nail polish. To do this you need to follow a few simple steps:
-
Prepare the nail for the treatment by creating a dry manicure, in order to mattify its surface using a buffer blade;
-
Apply a layer of base polish on the nail and base powder on all the nails;
-
Take a spoon and pour a lot of white base powder into it and add some black powder to mix, without mixing them completely but leaving some veins;
-
Apply the base liquid on the nail again and press it into the spoon with the prepared color;
-
Clean excess dust and apply Activator and Top Coat;
Color Block Nails - Color block nails
Color Block Nails, better known as color block nails, are one of the innovations of recent years regarding nail care: they are characterized by the presence and alternation of geometric blocks of color. The results obtained through the combination of multiple colours, even in contrast with each other, are always astonishing, but the process to obtain them is anything but complicated, especially when using powder nail polish:
-
Prepare the base of the nail with the classic manicure;
-
Apply the liquid and powder base on all nails;
-
Divide the nail into sections using tape. Pass the base liquid again on the uncovered area and dip in the first color, then repeat with the other sections of the nails;
-
Once all the squares have been completed, pass the activator liquid and the top coat over the surface of the nail;
French Manicure Matt
The creation of French Manicure Matt, i.e. nails with a matte body and a shiny bezel or vice versa, is a trend that has had great success in recent months .
The creation of this Nail Art is not complicated and essentially to achieve the matt effect it is sufficient to replace the normal top coat with the matt top coat to obtain the matte effect on the nail or on a part of it. Specifically, for better implementation it is sufficient, also in this case, to follow some simple steps:
-
Perform a classic manicure, filing the nail and giving it the desired shape;
-
After carrying out the necessary cleaning, it is necessary to apply a layer of base liquid and base powder;
-
Apply the liquid base polish again and immerse the nail in the colour;
- Apply the activator to the entire nail;
- Apply the traditional top coat on the body of the nail and the matt top coat only on the bezel or vice versa;
Easy right?
These are just some examples of simple nail art to create with powder nail polish, but many others are possible.
Since the powder nail polish does not smudge, it is easy to create even small designs such as pumpkins, flowers or Christmas hats.
If you are interested, follow Torrid Nails, we constantly publish tutorials for creating Nail Art with powder nail polish.


