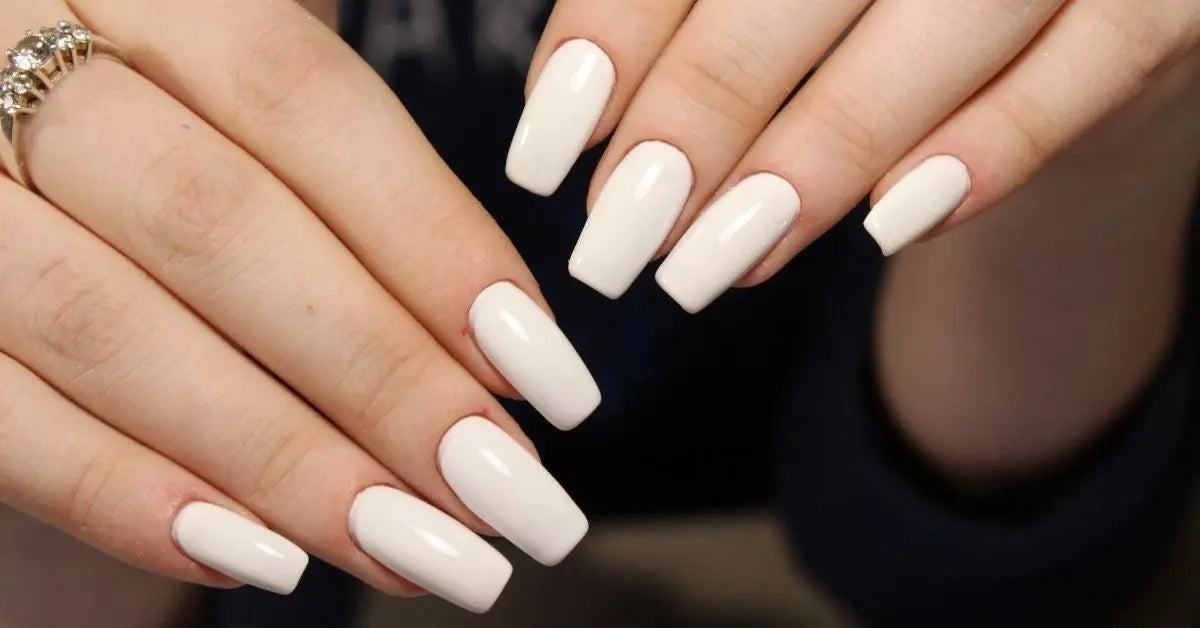
Hands are an important business card, as we know. But it's not always easy, in this hectic life, to have an impeccable manicure. And often, even when you find the time to take care of your nails, the "fairy hand" effect doesn't last long and you risk finding your nails with the nail polish chipped here and there, or with clumsy attempts at patching up which immediately fail. to the eye of the most attentive.
And if they told you that, not only with acrylic powder nail polish your manicure will last three times as long, but that you can also have fun decorating them in a professional way, how do you just go to your favorite nail artist? Well, today we will show you the Ombrè Nails technique with a step-by-step guide.
Let's first review the advantages of the Dip System. The powder nail polish lasts approximately 3-4 weeks. By using products with high quality ingredients such as the Torrid Nails Kit, you will also avoid contraindications and allergies. In this way, even the most delicate nails will have a thin and natural appearance, unlike gel manicures, which often make them appear excessively "rounded". If you have never heard of powder nail polish you can learn more about it here.
Ombré nails. What are they?
ombre nails are nails created with a Nail Art technique which involves the application and shading of two colors (usually complementary) on the same nail (from lighter to darker or vice versa).
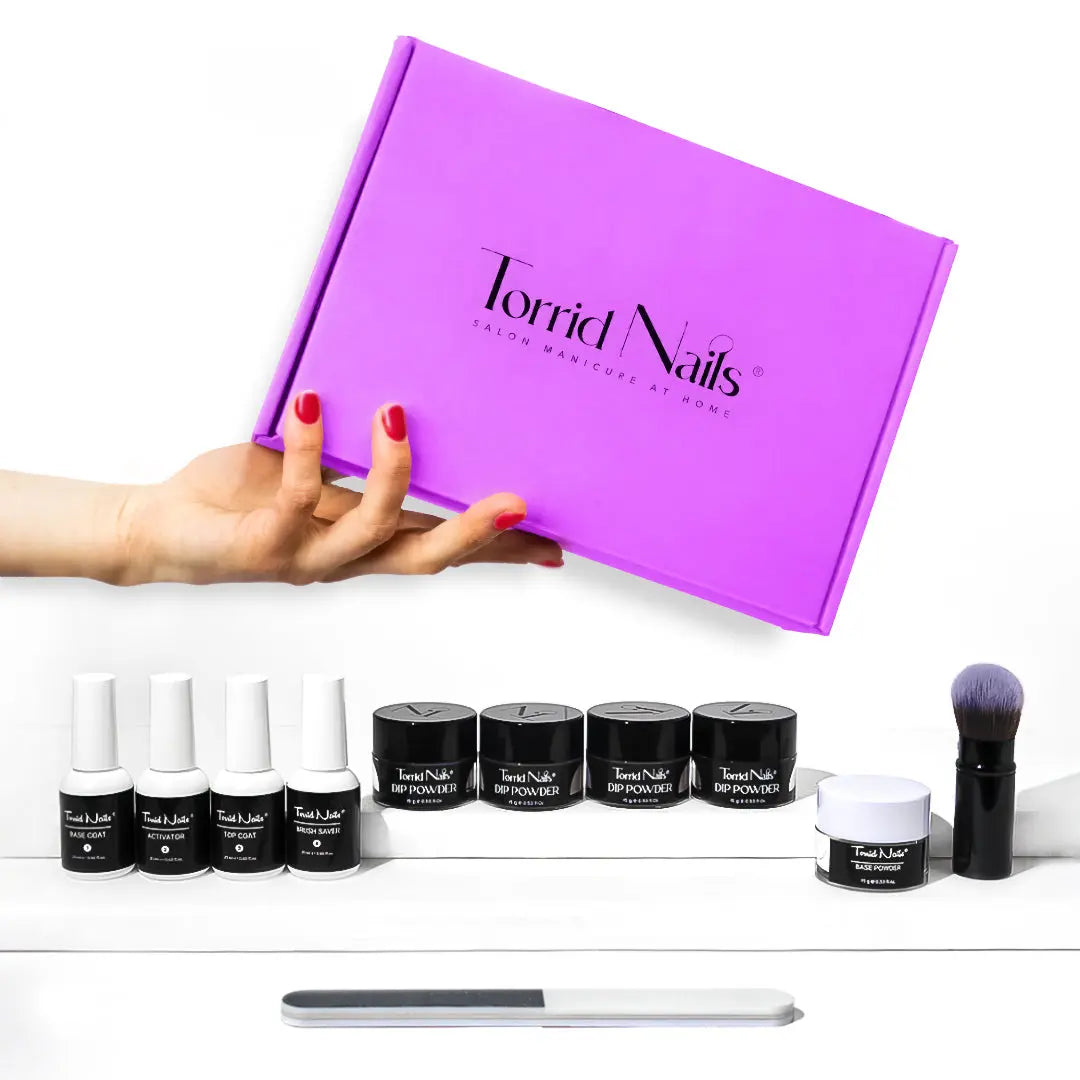
Sounds like a pretty difficult thing to accomplish. But today we are here to show you that with the Dip Powder Kit by Torrid Nails, it's easier than you imagine. Let's see in detail how to do it.
The products you will need
- Transparent gel base
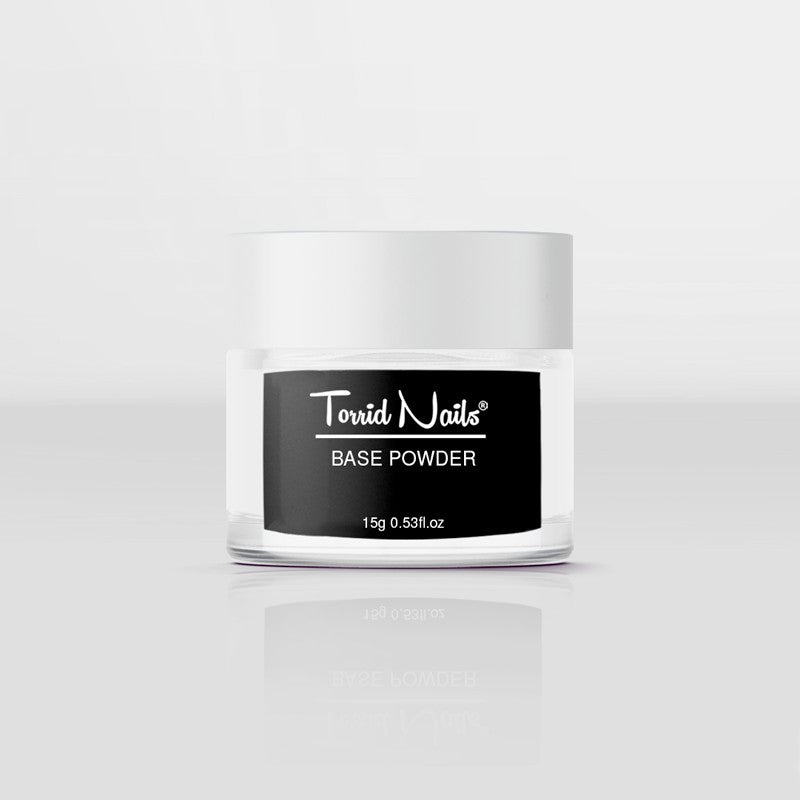
- Preparatory powder base
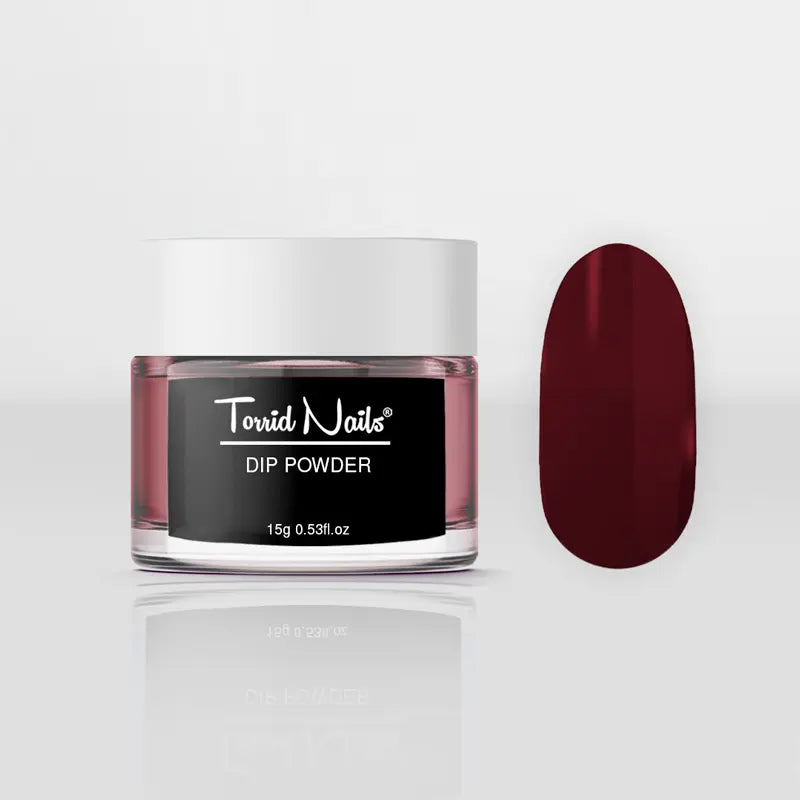
- Dip Powder of two complementary colors (for example two different shades of pink, two shades of blue, etc.)
- Activator
- Top coat (sealant)
- Soft bristle brush to remove excess
Before proceeding with the application, prepare everything you need and make sure you also have a towel handy to avoid getting the product everywhere.
It is very important to work in a clean and ventilated environment. Also make sure to handle the powders, keeping your face at a safe distance to avoid inhaling.
Before application, remember to prepare your nails by removing any previous nail polish, degreasing them and washing them with warm water and soap and pushing the cuticles back well with a cuticle pusher.
Choose the shape you want to give to your nails and level them with a spongy file to make the surface uniform.
Application of the base
Spread the transparent gel base over 3/4 of the nail. This procedure is essential for two reasons: it protects the nail from the direct action of the acrylic and promotes uniform adhesion of the powder.
Now dip the nail in the preparatory powder for a few seconds. This step is carried out on 3/4 of the nail, leaving out edges and cuticles, to give a natural and tidy look to the manicure.
At this point, repeat the process for all nails and make sure to remove excess product using the soft bristle brush.
As you have seen, nothing complicated. Now your nails are ready for the ombre technique. Make sure you have the two chosen colors at hand and follow the next steps.
Application of color
If necessary, before proceeding, use the gentle file to thin the nails. Then apply a gel base layer to the nail. Now let's move on to the actual color.
Dip the soft bristle brush into the first color and sprinkle the color powder on half of your nail.
Do the same with the second colored powder. Take it with the brush and sprinkle it on the other half of the nail and repeat these steps for all the nails. As always, remove excess product with the soft brush.
To intensify the color, repeat this operation a couple of times.
Activator and Top Coat
Now apply the activator on all your nails and let it dry for a couple of minutes. If necessary, file and polish your nails and then apply a second layer of activator.
To obtain the classic shiny effect typical of gel manicures, spread a layer of top coat on all the nails and wait two or three minutes until it is completely dry.
Finished! As promised, within everyone's reach! You can have fun with your favorite color combinations or, why not, create a shade with glitter. For this version you will have to choose a color and a glitter powder.
Glitter ombré nails
Follow the same procedure described previously for applying the base. After that, apply the transparent gel base again and dip your nails in the selected color (repeat this step twice).
Apply another layer of transparent base and at this point sprinkle the glitter only on the final part of the nail.
And as always, apply a first layer of activator, let it dry, file if necessary and apply a second layer.
Once the second layer is also dry, finish with the top coat.
With the manicure carried out with the Dip Powder technique, the nails will have a well-groomed and elegant appearance for 3-4 weeks . As if they had been made with gel, but without the use of UV lamps and without resorting to expensive treatments. Furthermore, with the Dip Powder Kit by Torrid Nails, you have 35 pieces available, which are enough for two years of manicures! A significant saving in economic terms.

How to remove them?
The doubts of many consumers are reflected in the removal. It is mistakenly thought to be a difficult and risky operation. In reality this is not the case. You don't necessarily need to be a professional, neither for the application nor for the removal. You can also do it easily at home, using a few precautions. Let's see how.
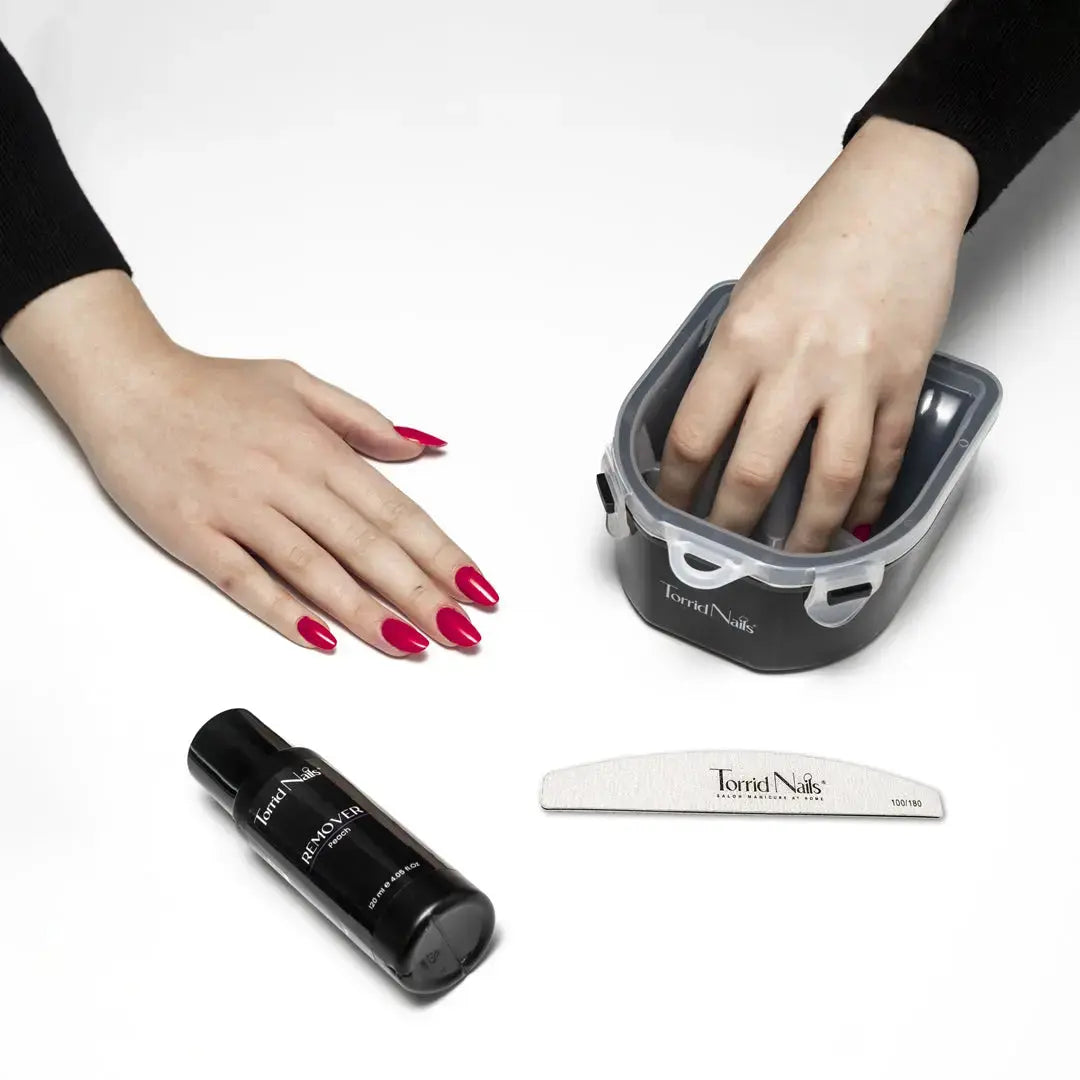
Necessary for removing powdered nail polish
- Water
- A bowl
- A clear plastic bag (a Cuki bag will work fine)
- Pure acetone
- Cotton balls
- Coconut oil (not mandatory but recommended: this will give nourishment and strength to the nails, to counteract the aggressive effect of acetone)
The steps to follow are few and simple. First, fill your bowl with water and heat it in the microwave for 30/60 seconds.
After that, take the transparent bag and add pure acetone (a little is enough. it is sufficient that only one corner of the bag is filled) and immerse the cotton ball and a knob of coconut oil in it.
Place the bag in the bowl of hot water and rub your nails with the cotton wool soaked in acetone for 5-10 minutes.
Et Voilà! Nail polish removed safely! To learn more, you can also take a look at the video tutorial that you find on the dedicated page, which will remove any doubts.
Why choose the Dip System?
The demand for this technique is rapidly increasing. And it's not difficult to understand the reasons. The Dip System is a less aggressive technique than that which involves the use of traditional acrylic nail polish and gives a natural effect at semi-permanent levels.
Moreover, there is no need to deal with UV lamps, which can be harmful in the long term, not to mention that the excessive stratification used in the gel technique contributes to the proliferation of bacteria and fungi.
Whether you are a professional in the sector or simply a lover of a tidy manicure, Dip Powder is the 2022 trend for you.
If you thought you weren't capable of creating original nail art on your own, hopefully you've changed your mind! After this guide, all you have to do is buy what you need for your manicure, choose from a nice variety of colors for your powder nail polishes (relying on the < brand) t3>Torrid Nails, if you want to have a guarantee of quality) and try your hand at the technique of ombre nails!